How to draw hair: male
Some commenters have expressed an interest in a male hair tutorial. Here ya go!
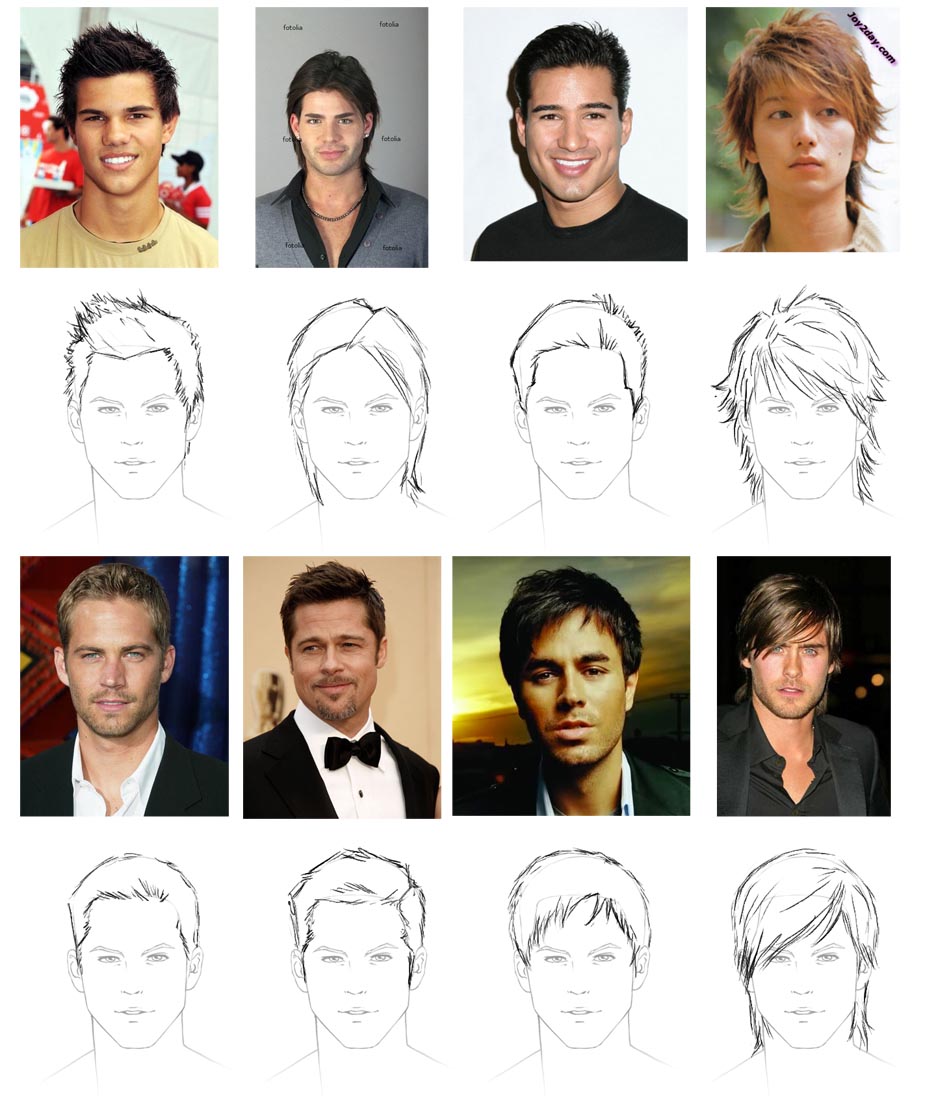
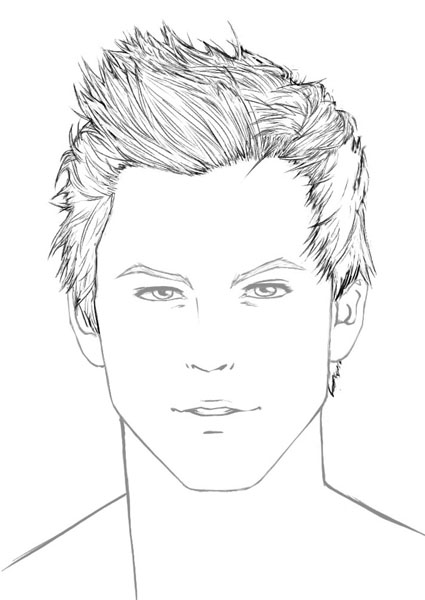
Below are some cool hairstyles I found with the ever-useful Google. I went ahead and sketched their basic outlines. [Photo's belong to their respective owners.]
Step 1.
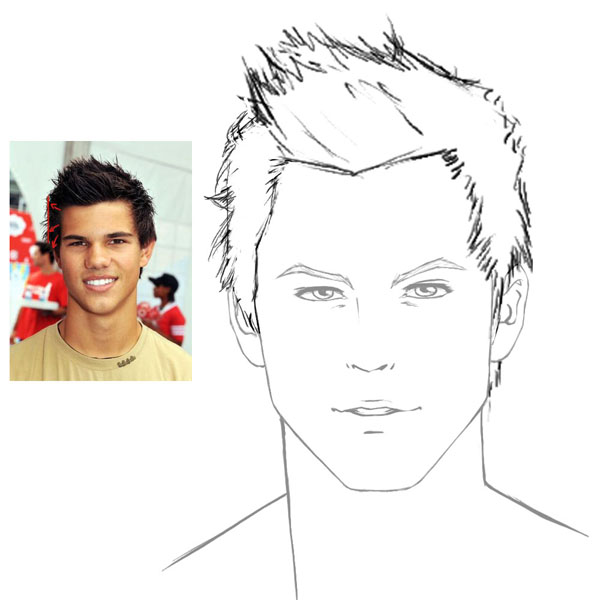
Choose a style that suits your picture. The hairstyle will bring out the attitude of your character. My husband asked me to draw Taylor’s hair. It was not as easy as I expected, since his hair sticks up in all directions. But it’s an excellent challenge and therefore perfect for a tutorial!
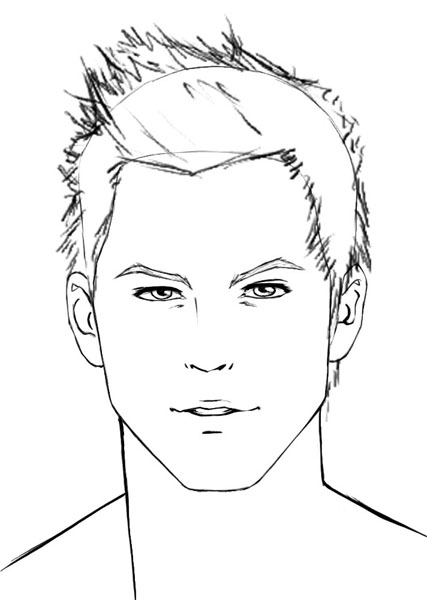
Step 2. Start out with rough outlines. Try to get the shape right. Check your reference to see which parts are round, which parts are spiky and which parts are flat. Draw your rough guides accordingly. Remember, this is hair we’re talking about, so it doesn’t have to be perfect. Hair moves and changes all the time.
Step 3. Stand back from your work. Recheck the shape of the hair against the reference. The main thing before you start with details is to get the overall shape right. The shape of the hair will indirectly define the shape of the person’s head. Also notice how the hair creates a M shape around the temples and forehead. This is more defined in men.
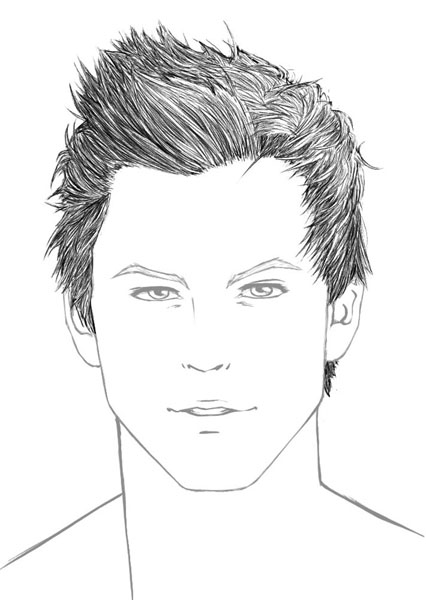
Step 4. Indicate segments and their direction. These will serve as guides for later details.
Notice how the hair on the left flows in a left direction. The hair on top points up and left. The hair on the right is brushed forward.
Step 5. Define the hairline. If the hair is brushed up the wayTaylor’s is, then the hairline is visible. A hairline that is visible like this ought not to be drawn as a single definitive line. Rather try to make it zigzaggy.
Step 6. Check your reference and add in segments. Keep in mind the direction of the hair as defined by your guides in step 4.
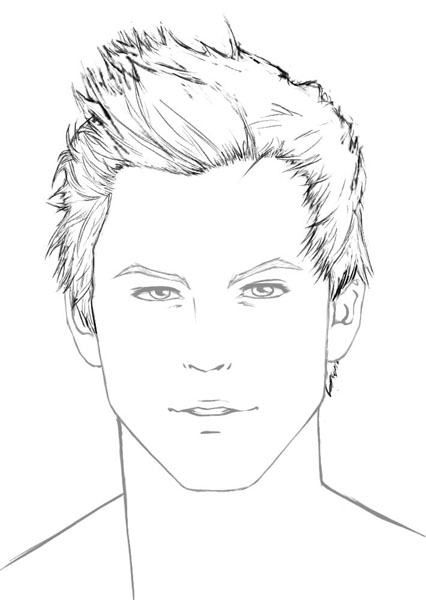
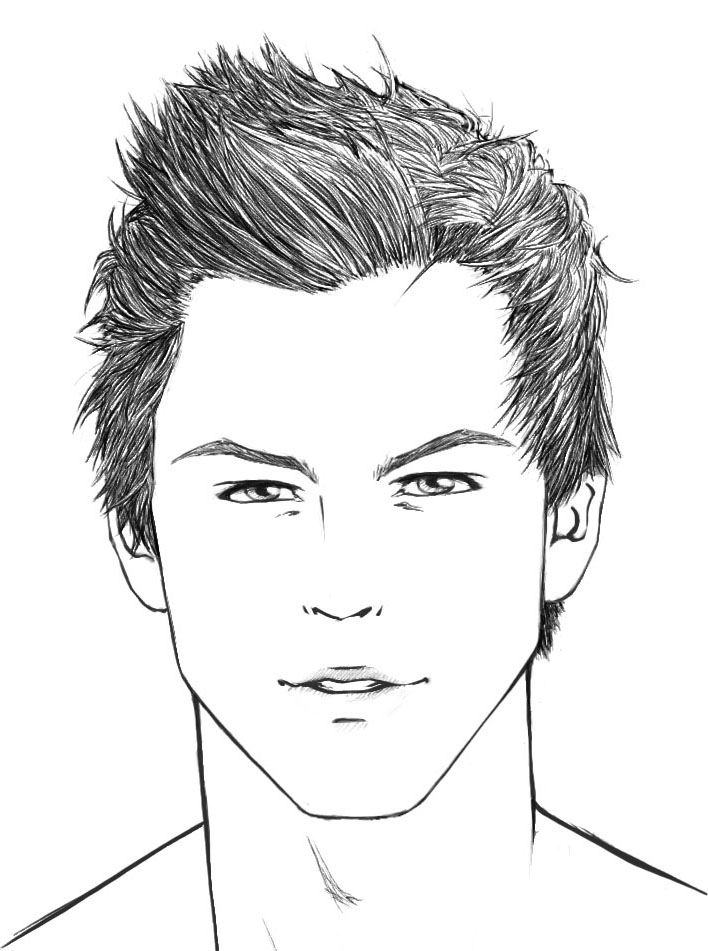
Step 7. Now add the texture of individual strands, by making loose, rough strokes. Follow the direction of the strands.
Step 8. Add shading by adding more rough strokes in areas that should be darker. Avoid pressing hard. Rather, add more lines until an area is dark enough.
Step 9. Add rough loose strands of hair that stick up and out from the main body of hair.
Step 10. Add final details to the face and you are done! 🙂
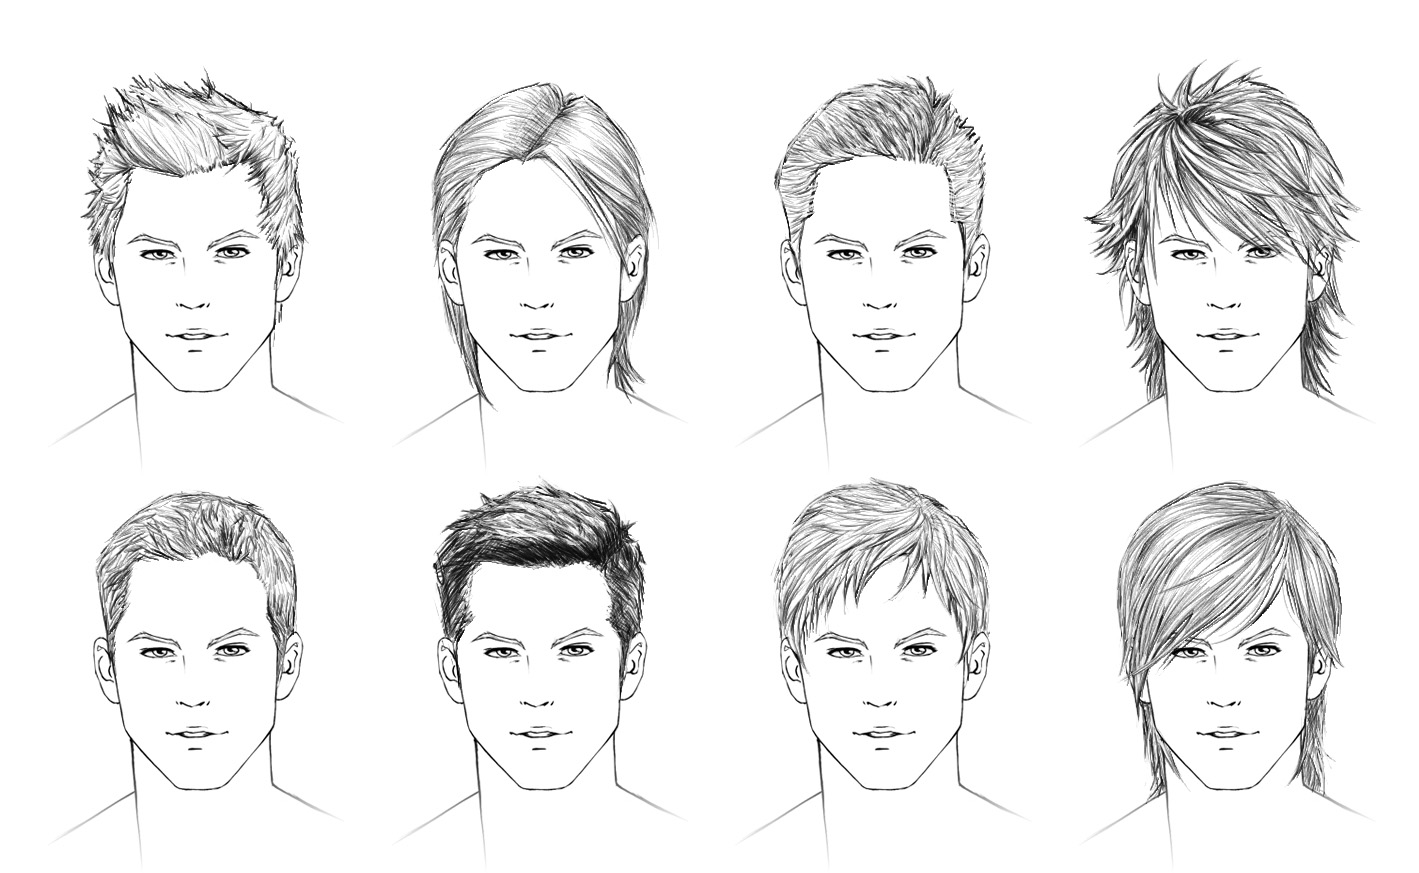
I sketched up those examples at the beginning of this tutorial. The method for all of these are based on the technique showed in this tutorial: 1. Get basic shape, 2. Segment hair, 3. sketch grain/texture, 4. add shading. [Click image for full view.]
"Aim at perfection in everything, though in most things it is unattainable. However, they who aim at it, and persevere, will come much nearer to it than those whose laziness and despondency make them give it up as unattainable." - Lord Chesterfield
About The Author:
BarakiEl's favourite things to do include creating digital art, listening to music, playing computer games and spending time with her husband. She works from home as a freelance desktop publisher, colourist and illustrator.
(Read more posts by BarakiEl)
Posted in: Art by BarakiEl on August 5, 2012 @ 3:17 pm

